
Performing the Know Your Customer (KYC) process for the Pradhan Mantri Kisan Samman Nidhi (PM-KISAN) scheme is crucial to ensure that the benefits reach the intended beneficiaries efficiently. Here are the steps to complete the PM-KISAN KYC process:
- Visit the Official PM-KISAN Portal: Start by accessing the official PM-KISAN portal. Ensure that you are using a secure and trusted internet connection for this process.
- Click on “Farmers’ Corner”: Once you’re on the portal’s homepage, locate and click on the “Farmers’ Corner” section. This is where you’ll find the KYC option.
- Select “New Farmer Registration”: If you haven’t registered as a farmer on the portal previously, you’ll need to click on the “New Farmer Registration” option. Follow the prompts to create your farmer registration.
- Login to Your Farmer Account: If you’re already registered, simply log in to your farmer account using your credentials.
- Access the KYC Section: After logging in, navigate to the KYC section within your farmer account. This is usually labeled as “KYC for PM-KISAN.”
- Provide Required Information: In the KYC section, you will be asked to provide various details and documents to complete the verification process. The specific information and documents required may vary, but typically, you will need the following:
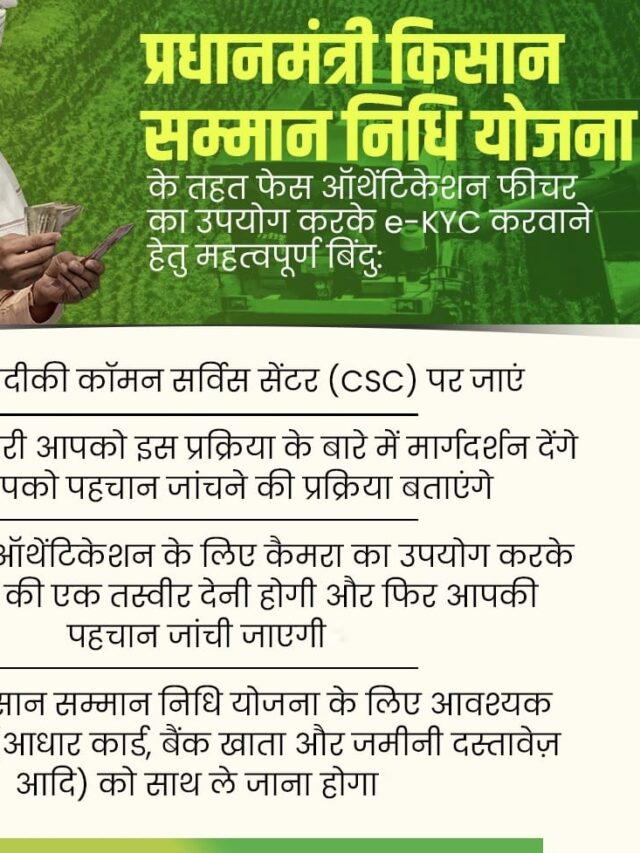
- Aadhaar Number: Enter your 12-digit Aadhaar number, which serves as a primary identification document.
- Bank Account Details: Provide accurate information about your bank account, including the bank name, branch name, account number, and the account’s IFSC code.
- Land Ownership Details: You may be required to provide information about the land you own for farming, including the land’s ownership documents and relevant details.
- Upload Supporting Documents: Scan or take clear photographs of the necessary documents, such as your Aadhaar card, bank passbook, and land ownership documents. Upload these documents as per the portal’s specifications.
- Review and Confirm: Double-check all the information you’ve provided and ensure that the uploaded documents are clear and legible. Make any necessary corrections.
- Submit Your KYC Application: Once you are satisfied with the information and documents you’ve submitted, click the “Submit” or “Save” button to send your KYC application for verification.
- Wait for Verification: The authorities will review your KYC application, and it may take some time for the verification process to be completed. You can track the status of your application on the PM-KISAN portal.
- Receive Confirmation: Once your KYC is successfully verified, you will receive a confirmation notification. You will then become eligible to receive the PM-KISAN benefits directly into your registered bank account.
It’s essential to keep your KYC details up to date to ensure uninterrupted access to PM-KISAN benefits. Additionally, be cautious about sharing your personal information and documents only on the official PM-KISAN portal or authorized channels to prevent any fraudulent activities.